
Change of Season = Barn Improvements Time
Well I am very sad that summer is almost gone. And in fine Colorado fashion, the change of seasons is bringing a change of the weather. It is so incredibly windy out today with wind conditions at 30 miles per hour as well as a storm coming tomorrow. Just in time for the weekend. Ya, fabulous! But instead of focusing on the negative, being I will not be riding today or making any videos outside, I can get some chores done. I have some barn improvements that have been on my mind for the past 6 months, and I have everything I need to get things done. So, I guess today is as good of day as any to get to work.
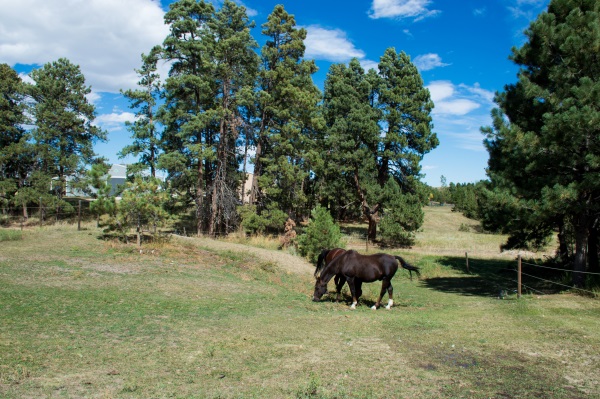
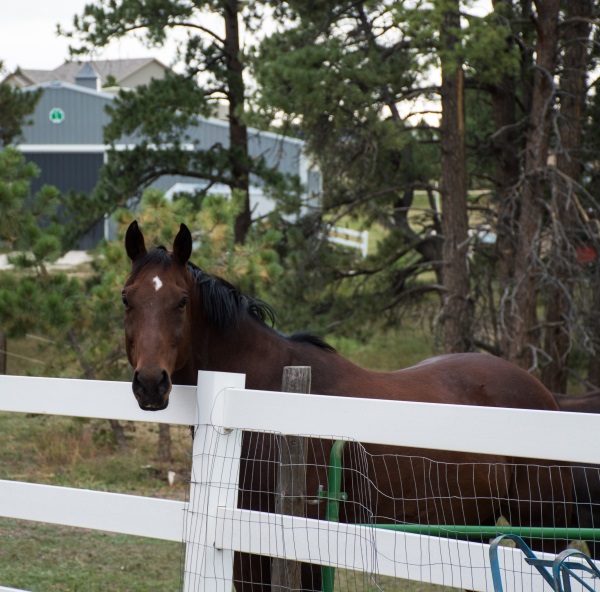
My horses will be happy, because as I am cleaning up their poop, and adding improvements, they will be allowed to go out to the back pasture and enjoy what’s remaining of the grass in that tiny pasture.
Stripping Stalls
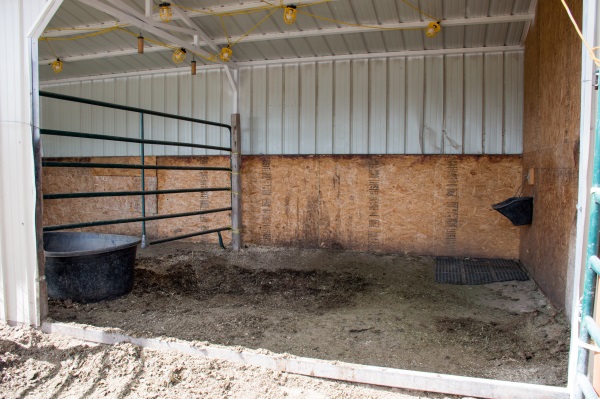
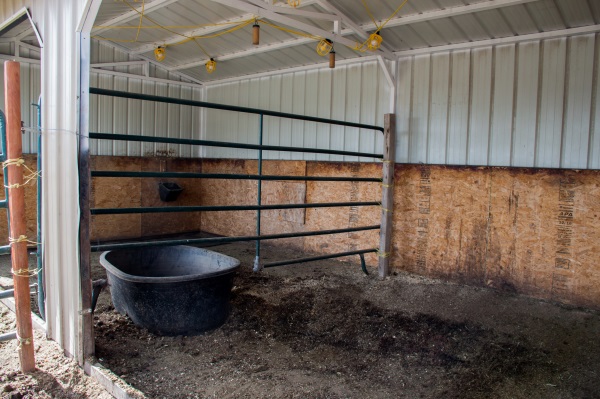
Priorities here, the barn needed to be cleaned in a bad way. So to start off my barn improvements, I decided to start with stripping the entire barn. This is something that has been needed to be done. I didn’t add any sand or dirt, but I did get all the way down to the packed dirt. Maybe next year I will do the floor right. But for right now, this will have to do.
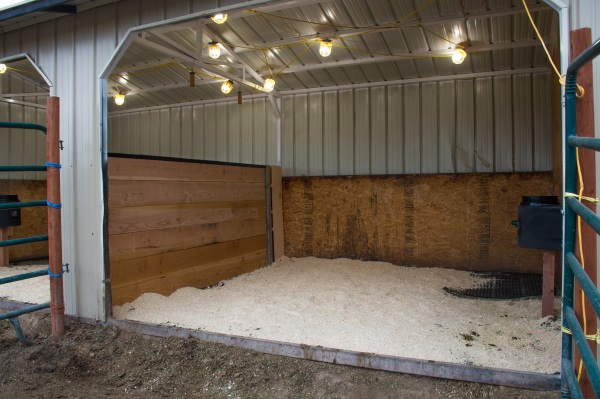
Let’s Build A Wall
The big project of the day is to build a permanent wall between my horses living quarters. We have kept a corral panel there ever since we brought Ethan home, but I want something more permanent.

And last year I was trying to come up with ways to keep the snow from drifting into Frisby’s stall so I built a wall on one side. But I learned, that’s not how the snow was getting into his stall. It was blowing from the other side (Ethan’s side) and ending up in huge drifts in poor Frisby’s stall. So I am hoping this wall will keep the snow out for good, or at least most of it.
Not As Easy As I thought

Building the wall seemed relatively straightforward. Buy some wood, attach to the wall, and done. Right? Well, not really. You see, I thought the length of the wall needed was 10 feet. Unfortunately, I needed 12 foot long boards, and I bought 10 foot long boards. So we had to figure out a way to use the 10 foot long wood, or I just wasted $115.00 on wood.
Thankfully my husband came out to help me, and we figured out a way to make my wall happen, and use the 10 foot long boards. It wasn’t easy, I had to dig a hole for a support beam, and then we had to come up with something to seal the remaining open area. It isn’t the prettiest thing in the world, but it is strong. And I don’t think I will need to worry about the horses getting a foot caught or anything. And even though the “mini” wall was an afterthought, it does look more complete this way.

Adding Ice Free Water Buckets
When I was considering building the wall, I had to figure out what to do with the water tank. We had cut a section out of the corral panel to accommodate the tank. It works great, but with a solid wall, the water trough won’t fit. And I could have bought another water tank, but that would mean another heater, and another electrical cord. So I decided the best thing to do would be to try water buckets.

I found these Ice Free water buckets on Amazon. Most horse supply stores have them, but Amazon had the best price and the fastest shipping. The shipping wasn’t a huge deal, because it won’t be freezing for another month or so. But these things are not cheap. So if I could save $10.00 on each bucket, it was worth it to me.
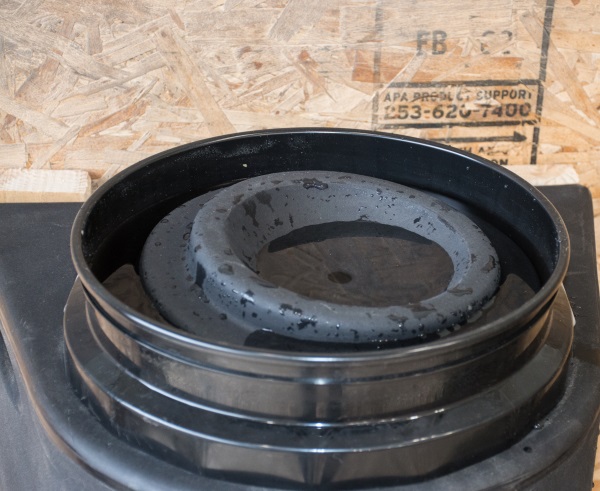
They have a float that sits on top of the water, and this is supposed to help keep the water from freezing. Time and temperature will tell, but I am happy to have water inside for the horses. Yes, they can walk outside and get water out of the tank, but I wanted a water source inside as well.
Bringing In The Electricity
Since my big water tank will be living outside again, I needed to buy a new cord for the tank heater. And one thing I learned 2 years ago, because we do not have power to the barn, we have to run a long extension cord, and the further the cord has to run from the source of the power, the larger diameter cord you need to have or it can create a fire hazard, and the cord will not last all winter. So I need a 12 gauge extension cord. They are not cheap, but they are safe. I bought a 50 foot 12 gauge extension cord to use, and buried it under the dirt (and poop) in order to keep it safe from the horses. I also used some left over PVC pipe to protect the cable, and hopefully have it last without getting damaged.
Barn Lighting
Thankfully, I had already completed this project a few months ago. And I am so glad I did it! The bright overhead lighting allows me to come home from work, in the dark, and still spend some much needed quality time with my horses.
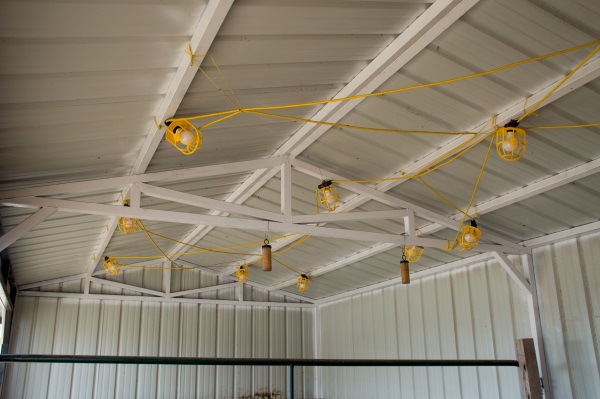
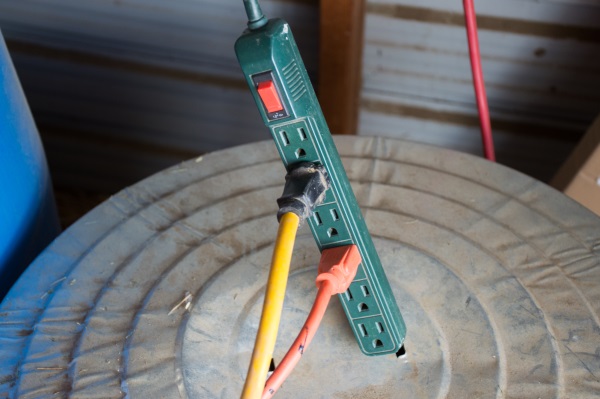
I found these string lights on Amazon, along with the 100 watt equivalent LED light bulbs that I have inside each socket. The 10 lights are more than I need. But it is so nice to be able to see what I am doing with these lights. I also added some to my feed room to keep it nice and bright. And to make it easy to turn on, I hooked up an power-strip with a switch. This way I have all my lighting on a switch, and with a flip of that switch I can say, let there be light!
A Day Well Spent
I know I am going to be sore tomorrow, but since it is supposed to be raining all day, maybe I will just make a day of lounging around and watching movies. This was a lot of hard work, but the end result is so worth it to me. Just knowing that my horses will be comfortable and cozy in their nice clean barn makes me happy.
And even though the horses got to hang out in their little pasture, it was as if Ethan felt he was missing out on something. I think he would have “helped” me, if he could have!
And it is also peace of mind knowing they will have ice free water in their stalls, as well as having the water tank too.

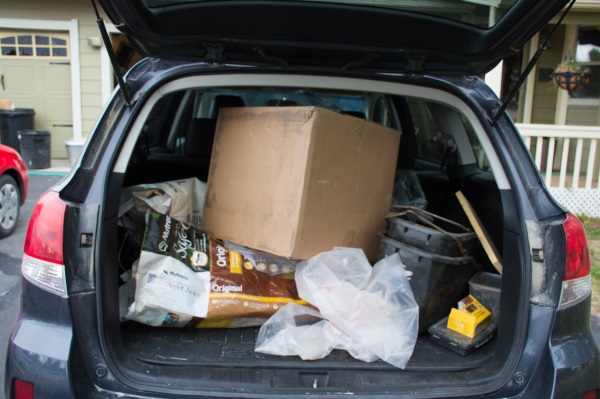
Yes, today was not a wasted day after all. I was able to get some big items off of my someday list, and have some great looking stalls to show for it. Now all I have to do is clean out all of the crap out of my car, and this day will be done!
How Much My Makeover Cost
I was fairly thrifty in this project. The wood cost $115.00. I probably spent around $15.00 on different types of screws. And the metal channels for the wall and the chew guard rail cost $66.00, and included free shipping. The water buckets and insulators cost $188.00, The Overhead lights were $95.00, including light bulbs. And the extras that I got were the larger 20 Qt. better buckets (I love these buckets, and so do my horses.) for $17.00 a piece and I have to include the shavings too, so 4 bags of shavings at $7.00. So my total investment for my mini barn makeover was $541.00. That seems like a lot when I write it all down! But, I bought the necessary items over a 3 month period of time, so it didn’t come out of my bank account all at one time.
The Barn Before….
The Barn After….
It was worth it though. The horses seem happy, and I have the peace of mind knowing they are safe and snug in their barn. So yes, it did cost some money, but the well being of my little ponies is worth more to me than anything. Well, except for my kids. My kids are pretty important to me too 🙂
2 replies to "Change of Season = Barn Improvements Time"
Looks awesome! Those string lights are cool, thanks for the ideas! You already did the work so it’s really a moot point, but I wanted to say, you probably could have found a solar water heater for the tank instead of running electric out. Colorado, though cold, averages a lot of sunny days year round.
Thank you Michelle! I like your idea, maybe next year I will add a solar heater to my list of barn updates. It would save money that’s for sure! 🙂