Equestrian Arts and Crafts
I love getting creative and coming up with equestrian arts and crafts to add to my tack room or craft room decor. I love making things instead of buying them for 3 reasons:
- It’s inexpensive
- I can look at what I have created
- I get ideas of items to sell on eBay
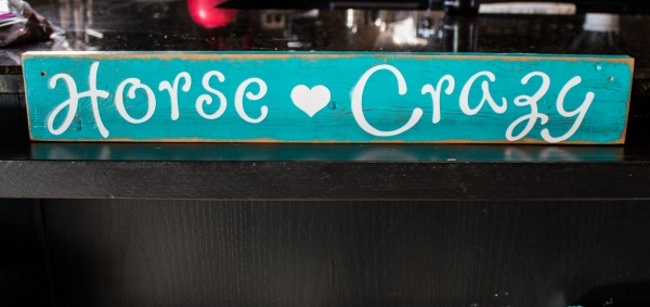
This is one project I thought I would share with you because it is really simple to do, and it is just so pretty!
What you will need
- 1 piece of 1×4 wood
- Sandpaper and orbital sander
- Acrylic pain
- Drill with drill bit
- Mod Podge
- 1” Paint brush
- Letters and heart cut out (or you can get a fancy stencil)
What You Will Do
Determine how long you want your sign to be. For my sign, I made it 26” long.
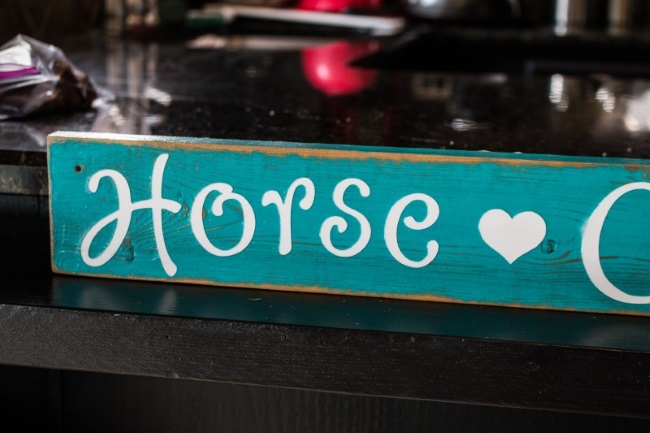
Then I painted it with the acrylic paint. I actually borrowed my daughter’s paint, because I really liked the color! I painted the front, and all 4 edged sides. I did not paint the back, because that will be on the wall, so I didn’t feel the need to waste paint (or time) by painting it. When I did the painting, I did just one coat, and it covered the wood, but was not a thick layer of paint. I did this so when I sand the wood, the grain will show through better.
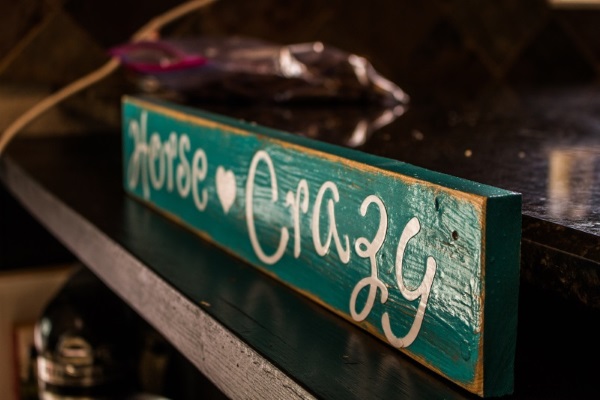
Once the paint was completely dry, I took the wood out to the garage and sanded it. Yes, I sanded it AFTER I painted it. This will give it an old, and distressed look, which is the look I wanted to have. If you would prefer not to have this look, then sand the wood first, and then paint it. But I wanted my sign to look old, and worn. So I sanded after applying the paint.
Practice Makes Perfect
This does take a little practice. Doing the edges of the sign is really easy, but then going over the “face: of the sign takes a little skill, which you can easily learn in 1 or 2 sign making sessions.
After I have sanded it, I decide where I want the screw holes to go, and using a drill, I drill the holes, and then I sand the holes smooth. I do this both on the front and the back of the board.
After sanding, I wiped the board off with a towel to get any of the dust off.
Then I go back into the house and choose my letters. I have a Cricut machine, so I can choose different fonts of the lettering. For this sign, I used the Lyrical Letters cartridge, and choose the loopy do font. I also have the George cartridge, and this is where I made the heart.
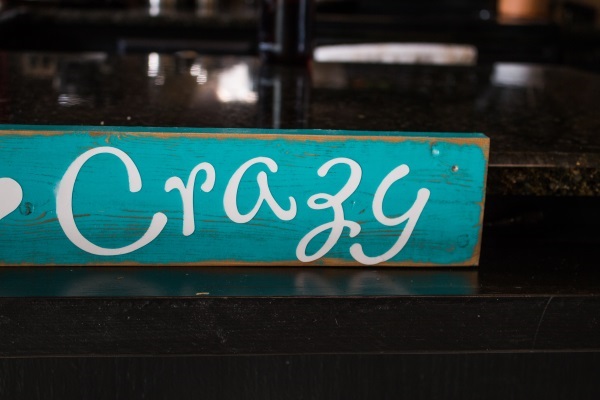
The size of the lettering I used was 3” tall. And I liked the size on the board. The Z and the Y were a little tricky to work with. I did end up cutting the Y and reattached the tail of it so it would fit on the board.
If you don’t have a Cricut machine, and aren’t interested in buying one, you can find fancy letters at places like Hobby Lobby, or other types of craft stores. But if you love to do arts and craft projects, you may want to look into getting this machine. You can also buy a stencil and paint the letters on. It is so much fun!
Once I have an idea of where I want my letters to go, I apply mod-podge to the front of the board, and then I carefully place the letters. I usually only lightly place each letter, so that way I can move them around a little if I need to.
After the letters are good, I coat the entire board with one more coat of mod podge and allow to dry. I do also coat the 4 sides of edges, to make sure they are all sealed, and look “done”.
Admire Your Work
All that is left to do is allow the sign to dry, and then you can hang it up wherever you like!

You don’t have to make the sign say Horse Crazy. You can make it say whatever you like. This is the same method I use when I am creating stall signs. It is very simple, and so cheap to do!
DISCLAIMER: This blog post contains affiliate links, which means that if you click on one of the product links, I’ll receive a small commission. This helps to support my website and YouTube channel and allows me to continue to make great content for you. Thank you for the support!
2 replies to "Equestrian Arts And Crafts – DIY Horse Crazy Sign"
That is great! Cash and I love his stall sign. What font did you use?
Hi Maggie! I am so glad you and Cash like his sign 🙂 I used the Lyrical letters cricut cartridge, and the font is “jumbo”. For his fancy name, I found those stickers at Walmart. Thank you so much for participating in the giveaway, and for watching my videos, and visiting my website. That really means a lot to me!