
How To DIY A Mounting Block
I am super happy to be able to get back to my DIY projects. And this project is something I have been wanting to do for a while now. I say that a lot, don’t I? I guess that means I always have new ideas in my head of something I want to see if I can build. And while I am not a professional carpenter, I do like making things.
And thankfully I have a lot of tools that I am able to make things for myself. And then I can shear the ideas with you! And this mounting block is one of those ideas.
I already have a mounting step stool. But it is a little too short. Or my legs are a little too short for my tall horses. So I decided to spend the afternoon building a wooden mounting block. If you wanted, you could also use this as a step stool. But the main purpose of this piece of furniture is to make it easier for me to get into the saddle.
And all of the wood that I used for this project were scraps of lumber that I had saved from prior projects.

What You Will Need
To make a mounting block like this you will need a few things.
- 1″ x 6″ pine boards
- 2″ x 4″ pine boards
- 1″ x 2″ furring strip
- 2 1/4″ screws
- Latex painters caulk
- Sandpaper
- Sander
- Paint
- 18 volt drill with screw head attachment
Not a lot really. And like I said, all of this wood was scrap. I had it lying around and decided to make a mounting block. The 2 x 4’s were cut to 16″ long, and then 2 peices I cut were 12″ long.
The remaining wood I cut was all 20″ long. So to make this mounting block you will need the following pieces of cut lumber:
- 2″ x 4″ x 16″ (6 pieces)
- 2″ x 4″ x 12″ (2 pieces)
- 1″ x 2″ x 20″ (2 pieces)
- 1″ x 6″ x 20″ (6 pieces)
And that’s it. Not a lot of wood really for this project.
Then you will just assemble the pieces together. First you will make the sides using all 6 pieces of the 16″ 2 x 4 lumber. Each side will take 3 pieces.

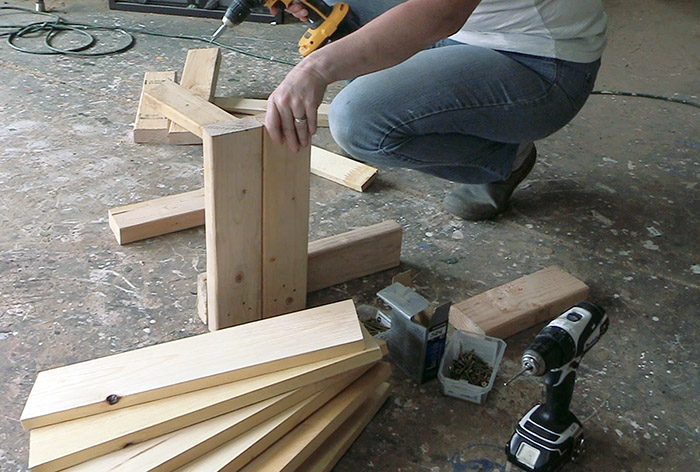
Then take one of the 12″ pieces of 2 x 4 wood, and attach it to the long front side of the already assembled 2 x 4 sides. And repeat the process on the other side.

Adding the extra little 2 x 4 piece adds stability to your mounting block, and gives you additional surface area to screw the 1 x 6″ wood down.

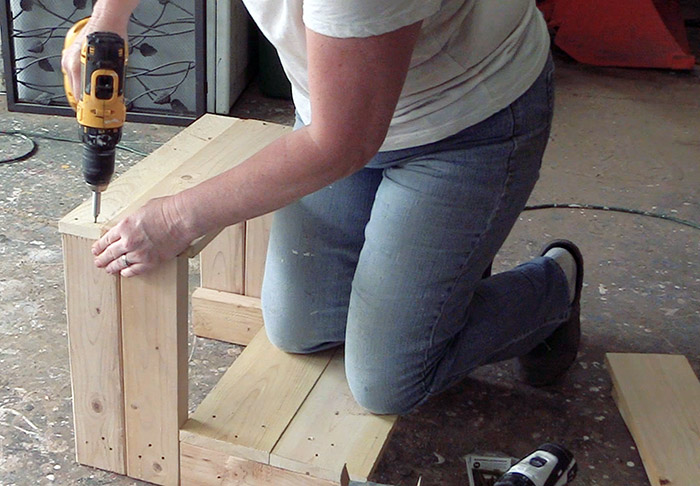
Next you will assemble the bottom stair. Using 2 of the 1 x 6 x 20″ pieces of wood for the bottom tread, or stair.

And then take another 20″ piece of 1 x 6 and attach it to the tall, or upright portion of your mounting block. Then attach a 1 x 2 x 20″ to the remaining open area of the top step.
Next, secure a 1 x 6 piece to the back at the top step, and flip the block over and secure another 1 x 6 piece of wood to the front of the top step.
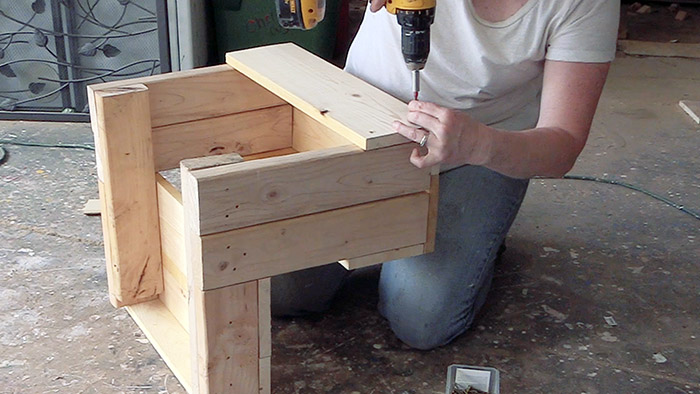
And take your final piece of 1 x 6 and attach it to the back on the bottom of the mounting block. By adding this bottom piece, it will make your mounting block much more stable when you are climbing onto the top step.

See? This little mounting block can support my weight, and it is stable. So I don’t have to worry that it is going to move around while I am climbing into the saddle.

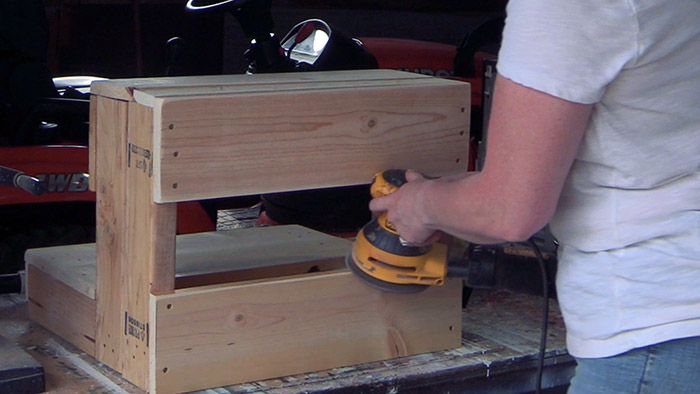
And once I had it assembled, I sanded all of the pointy edges. For me, it’s important to have rounded and smooth edges, so I always sand all of the sharp corners, just in case.
Once you have all of the sanding one, you can give it a more seamless appearance by caulking all of the seams, and the screw holes. I like to use DAP latex painter’s caulk. It is easy to use, and it cleans up with soap and water. It also helps to protect your new mounting block from the elements if it’s going to be living outside.

And all that’s left to do is paint it. I used Kilz 2 primer paint. It’s very affordable, and it will protect the mounting block from the weather. Kilz 2 is safe for indoor and outdoor use. If you want to , you could paint another finish color on top, but I was happy with just having the mounting block. So two coats of primer paint was enough for me. But if you want to paint it in your stable colors, or favorite color, go for it!

And once the pain is dry, you have a very sturdy mounting block, or step stool, or place to sit. This is a very helpful piece of equipment to build for your arena, as well as your barn.
And believe it or not, it’s fairly lightweight. Making it easy to be moved around the arena, or the barn.

Not to horrible, right? And like I said, it’s very nice to have a mounting block in your arena.

So if you have some scrap wood, and a couple of hours, why not make your own mounting block? It will make it easier to get on your horse, and you will get rid of scrap wood! And it looks pretty neat too 🙂

And if you would like to watch a video of me making this mounting block, well I have that for you too! Happy mounting block building!
2 replies to "How To DIY A Mounting Block"
I went looking for a mounting block tutorial and found this. I’m going to try it with a few minor adjustments since the scrap boards I have aren’t as wide .
How tall is it?