 One of the first things I started making for horse jumps was rails (or poles) for horse jumps. Making rails for horse jumps is the least labor intensive part of building a jump.
It’s very simple, you go to home depot, spend $40.00 and bam! You have 10 poles to use for your jumps. And then you buy some primer and paint, and create some beautiful poles. This is when the building bug hit me. Now I had a bunch of rails, but I needed the standards to make a “real” jump. And then of course I had to have a gate or two, and planks, and well, I think you get the idea.
When you start jumping, you may decide it is time to either buy or make your own jumps. And once you find out just how much horse jumps cost, I would be willing to bet you would make your own jump rails, and then move up to building the standards.
But let’s start simple. The rails are one of the first things you should attempt to make. You can start with 8 foot rails, and you do this by going to Home Depot, and buy some landscaping timbers. They are clear in the back of the garden section, along the wall. Each ‘rail’ will cost you about $4.00. Yep, that’s it, $4.00. That’s less than a fancy coffee per day.
If you spend $40.00, you will have 10 rails to get started with, and this is a good thing! You don’t need to have standards, or any fillers yet. Stay simple, and just focus on the rails.
 Now you can keep the rails plain, and use them like that, but I would suggest at least sanding them. Then, buy a gallon of Kilz 2 primer. This is a paint that will prime and seal the wood. I usually buy the 2 gallon size, because it is usually on sale for around $23.00. Even if you don’t paint the rails past that, if you seal them with the primer they will last a lot longer, especially if they live outside.
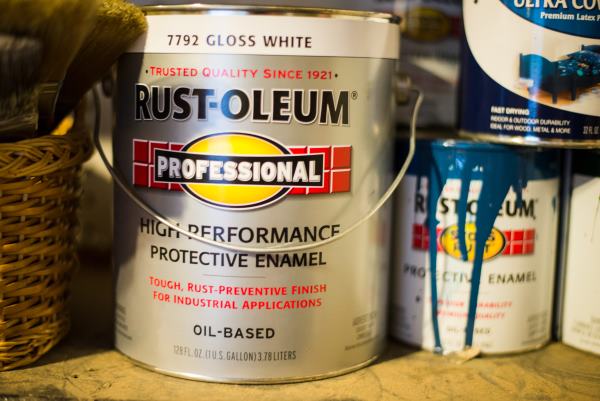
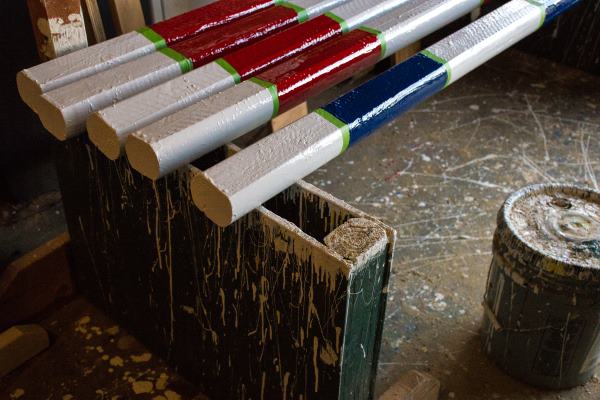 But then if you want to have really nice looking rails, you can coat the rails with a coat or 2 of exterior paint. I prefer to use oil based enamel, Rustoleum has very nice paint, and it is $24.00 a gallon. The oil based paint is tougher than latex paint and it can stand up to the dings and knocks that will happen much better than the latex paint.
 And believe me, I have tried the latex paint, because I had gotten a lot of it for free from my dad who paints houses for a living. But as soon as the jumps were outside for any length of time, the paint started to fade and wear off. This is when I decided to move to the oil based paints. I have been extremely happy with the Rustoleum paint. It lasts a very long time, and looks great. When I build jumps for people, I will only use the oil based paint because it looks professional, and is durable.
Ok, enough on the paint!
So once you have the rails, then what? It’s simple, take them outside and start using them! Use them for ground work, and training grids. Make sure your horse is working well through the ground rails. You can even lay out a course of rails, which you will eventually replace with full jumps. School your horse on the flat over the rails and make different ‘courses’ with your ground rails.
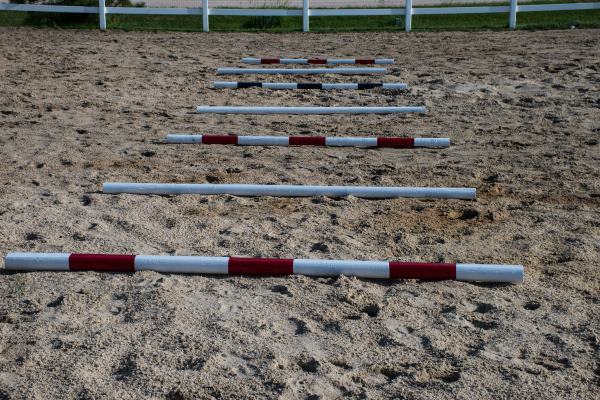
And once your horse can go through all of the different courses you can think of without hitting the rails, then you are ready to start adding some standards, and building real jumps.
By starting with the basics, and working your way up as your jump collection grows you and your horse will have a very solid foundation of ground work that will help you when you are jumping. So even though it might be exciting to run out and buy a complete course of jumps, it is better to go slowly. Build your skills, and then build your jumps, one rail at a time.
