
Have you ever used paracord? I’m sure you’ve seen it. People make bracelets, belts, and all kinds of things with it. Well I decided to use it for a different project all together, a dream catcher.

I recently went to Hobby Lobby and found half an aisle filled with different dream catchers ranging in price from $19.99 to over $50.00. And I thought about for a minute and decided I could make one myself for a lot less. And I could make a more equestrian style dream catcher. And that is what I wanted to share with you today.
How To Make A Dream Catcher
I don’t know all of the meanings behind a ‘real’ dream catcher. But I do know that I like them. So I decided to make an equestrian style dream catcher to hang up in my barn.
It isn’t too difficult to make one. You just need a ring, some type of cordage, waxed string, or regular string, some fabric strips and ribbon, some embellishments (if you like a little something extra) a glue gun with glue sticks and a pair of scissors. If you have a craft room or box, you probably have most of the items necessary to make your own dream catcher.
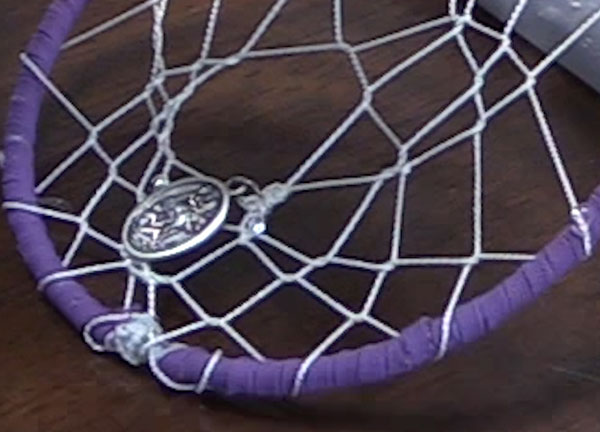
And I added a very special embellishment to my dream catcher, a Saint Martin of Tours medallion that I found on Amazon. It even came with a necklace. But I only wanted the charm, so I removed it.
Covering The Ring

The first step is covering the outside metal ring. Or you could do the web first, and then cover the ring. But for me, I started with covering the metal ring first.
I used purple paracord for most of my project. Paracord is such a cool material. The outer covering is one color, but inside there are 7 additional strands of string. I ‘stripped’ the cord by cutting a length of about 3 1/2 feet of the paracord, and then I pulled out the inner string.
Then I had a hollow cord of the purple paracord, and I wrapped it around the metal ring. While I was wrapping it, I used my glue gun, and put a little glue on the metal ring to secure the cord.
Then I just wrapped the paracord all the way around the ring.
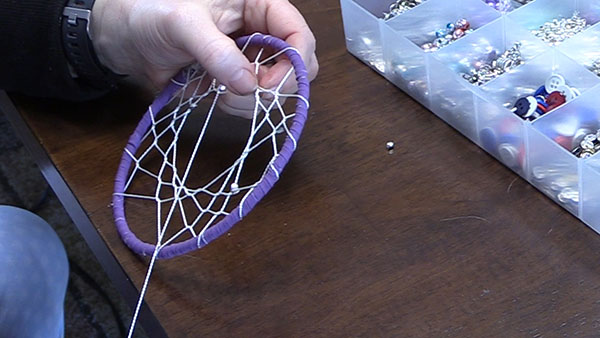
Making The Web
The next part is to make the web in the interior portion of the ring. I took one strand of the inner string from the paracord, tied one end to my ring, and then made loops around the already covered metal ring.

And once I had a complete circle, and met back up to where I had started, I put the string through the all ready made loops. I continued to do this until I had about 4 inches left of the string.

And for a little extra bling, I added a few little glass beads while I was weaving through the string.
It also helped for me to see my progress by pulling the string on occasion so I could see the web transform. Then I tied off the string and secured it with a tiny drop of hot glue.
And then on the left over string, I tied on my Saint Martin of Tours medallion onto the string. Then I cut off the left over piece.
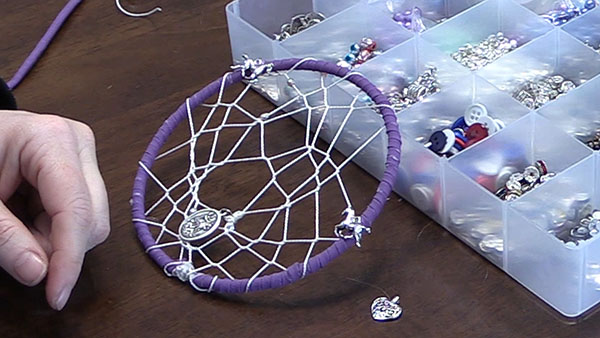
So now the ring portion of the dream catcher is mostly complete. I did add a couple of horse charms to the outside of the ring. I just attached the charms with a drop of hot glue.
Adding The Tails

All that is left to do is add the tail section of the dream catcher. I took several pieces of the purple paracord, and divided them in half, and then lopped them through the bottom portion of my dream catcher. I added some different sizes of ribbon in different colors to fill in the tail section.

And then I added one more horse charm to the center of the the tail portion, and my dream catcher was complete!

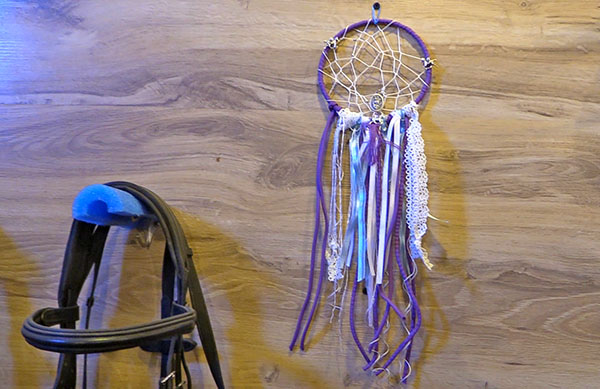
All that was left to do was to hang my work of art in the barn.
DIY Equestrian Dream Catcher
This was a really fun craft project that I have been wanting to do for sooooo long. And I finally did it! And just in case you wanted to make your own equestrian dream catcher, but are a more visual learner, I have a video showing you how I did this.
If this is something you plan on doing, I would love to see your results! You can put a photo in the comment section, or go to The Budget Equestrian Facebook page, and share your masterpiece with the rest of us!
