
With the stay at home order still in place, and now extended in Colorado, I decided to make the most of my down time and create some fun craft projects that have been in my mind. This is one of the ways I try to keep myself busy when I can’t be riding.
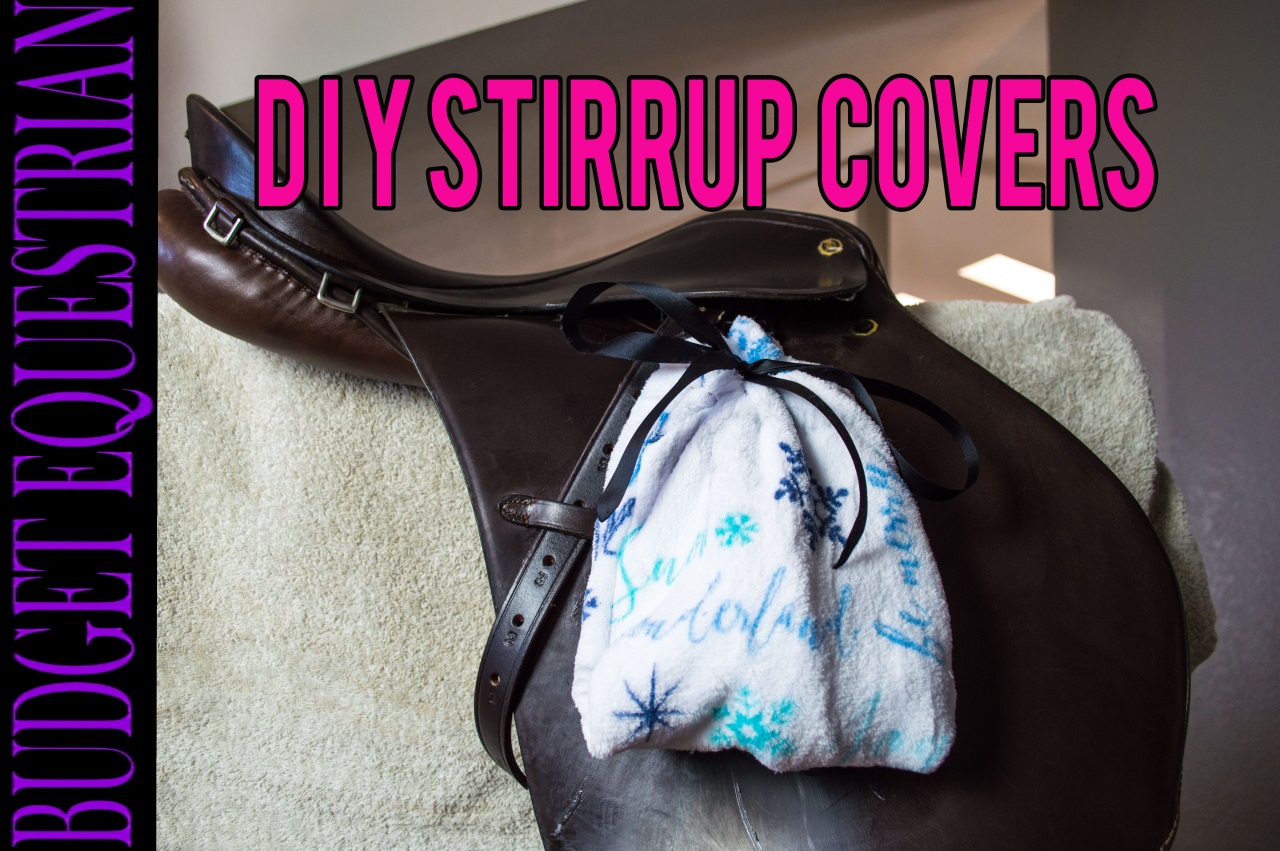
Instead of getting myself down, and allowing sadness to creep in I have found some extra time to get busy with diy projects, like a set of stirrup covers that will protect my saddle from my stirrups rubbing the pretty leather as well as keeping the dust off my stirrups.
I have always wanted a pair (or 2) of stirrup covers to protect my saddles from the stirrups rubbing on the leather. I thought seriously about buying a pair or 2 of stirrup covers, because you can find really fancy ones on eBay or even Amazon for around $12.00 a pair, but I wanted to see if I could make them myself. And although I am not a talented seamstress, I do have a sewing machine, and decided it was time to put it to use.
Getting Creative
Instead of buying fleece material for these covers, I put my thrifty skills to use, and found a fleece blanket on clearance at Walmart for $2.00. This gave me a fun patterned material which offered enough fabric to create several pairs of stirrup covers as well as a few bit warmers. (More on that project later!)

Making the Most of Down Time
If you are stuck in your home right now, why not do a project (or two) that you have wanted to try, or been putting off until you find some extra time? Many of us are being told to stay home because of COVID-19. So you could use this time to make some stirrup covers for your stirrups right?
If you want to make these easy and useful stirrup covers this is what you will do.

Make Your Own Stirrup Covers
What you will need:
- A stirrup (to determine your sizing)
- Fleece material
- Ribbon
- Sewing machine
- Thread
- Scissors
- Pins (if you want-I couldn’t be bothered with the extra step.)
And that’s it! That is all you will need to make your very own stirrup covers!
Getting Started
To get started, take your fleece material fold it in half and put your stirrup just above the fold. I put it on the end, so I would already have one side “cut”. Then you will cut the other side, and the top of the fleece. I left about 3” on either side of the stirrup, as well as above the fold. It is better to cut twice than to ruin a piece of material.

After you have cut the fleece for the first stirrup cover, duplicate this for the second stirrup, because you will be making a pair of covers.
Then set your stirrup over the folded material again, centering it. If there is a lot of excess material, remove it. You do want to have about 2 to 3 inches on either side, as well as the top once it is all stitched together, but you don’t need 5” on every side, otherwise your stirrup cover will be huge!
Once you are satisfied with the sizing, place the material inside out. This means the pretty pattern will not show. You will be sewing the seam on the inside of the stirrup cover, so it will not show once it is in use. (You simply turn the stirrup cover inside out when you are finished crafting it.)
Now, if you are a sewing type person, you will probably pin your stirrup cover to make sure it is perfect. I am not that patient, so I just stitched the sides together, sewing slowly.
Sewing The Fleece Fabric
Place the stirrup cover on your sewing machine, and begin one side stitch. Keep the foot of the machine about 1” inside the edge, and sew to about 1 ½”, This is where you want the stitching to be, about 1” or so from the edge.

You also want to stop about 1 ½” to 2” from the top, because you will need this material to create the tunnel in which you will pass the ribbon through, so don’t sew all the way to the top of your sides!
Once you have completed the stitching on both sides, now on the top, fold the top edge of one side inside, and stitch at the very lower edge. Make sure to stitch as close as you can to the bottom of the piece of material so you will be able to pass the ribbon through easily.
On the other top side, fold and stitch the material the same way. However, you don’t have to be as careful on this edge. Because you only need one side to have the “tunnel” for the ribbon, the other side will not have the ribbon passed through it. You will only be passing the ribbon through the back. At least, that is how I did mine.
Best Tip Ever
Now that your sewing is complete (mostly) grab a length of ribbon, about 18” long and a pen with a removable cap.

When I cut my ribbon, I used a lighter to burn the ends to keep the ribbon from fraying. And then I put one end of the ribbon into the cap of the pen, and then inserted the pen into the cap. This makes it MUCH easier to pass the ribbon through the fleece tunnel. And that is exactly what you will do next, feed the pen through the tunnel from one side to the other. Once it is through, remove the pen cap, and your ribbon is through!

Now to keep it pretty and nice looking, now stitch the upper corners of your stirrup cover. This will give it a finished look.
Once you have the first one done, making the second stirrup cover will go much faster.
All that is left to do now is to put your beautiful new stirrup cover on your stirrup!
You can do this one of two ways, you can leave the stirrup leather out, or you can wrap the stirrup leather around the stirrup, and then put the cover on. I prefer to leave the stirrup leather out, it just makes it easier, and puts less stress on the leather.

This project was very simple to do and took me about an hour from start to finish, and that even included me setting up a camera so I could make a video of the process. If you are a talented seamstress, you should be able to complete this project even quicker.
If you are a more visual learner, I made a video of how I made my stirrup covers, and you can watch it on my YouTube channel as well over 100 more videos all relating to horse diy projects, and different ideas for keeping horses at home.
And I have to tell you after I made these stirrup covers I found another use for the remnant of my fleece blanket, and I will share that idea with you in the future! So be sure to sign up to my email list so you can be alerted every time I have a new article on my website!
3 replies to "How To Make Your Own Stirrup Covers"
This was a fun project that I’ve wanted to do for so long and now I have my own pair that were next to nothing in cost. I sewed it by hand which took about 3-4 hours. It was worth it.
Can you do this with hot or fabric glue instead of a sewing machine?
I’m sure you could!