
Day 5: Creating Raised Rails
If you have gotten this far, congratulations! And it doesn’t matter if you have done it in 5 days or 5 weeks. The important thing to remember is that you did it!!!! You should be proud of what you have accomplished thus far!
Can you believe what you have been able to accomplish in 5 days?!?!?! Pretty incredible, isn’t it?
So far in this series of articles we have completed the following tasks:
- Bought the necessary materials
- Built standards
- Created rails
- Created a gate
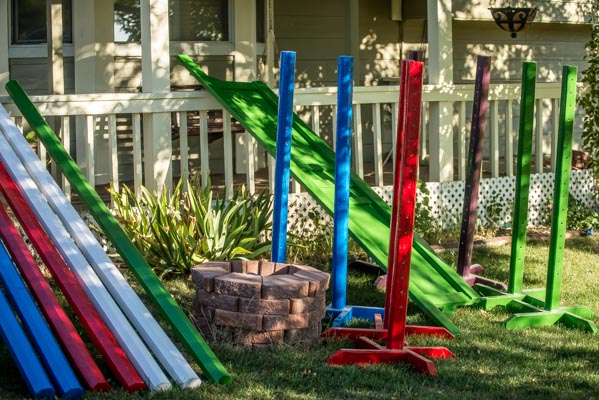
And for Day 5 we are going to make some raised rails, or flower boxes, depending on what name you want to call them, they can be either.
The raised rails (as I like to call them) are simple to make, and have a lot of uses. Remember when we made the standards way back on day 1, and I told you to keep the left over pieces of the landscaping timbers? This is why! Those remnants of timbers will be the main component of your raised rails.
Assembling the Rails
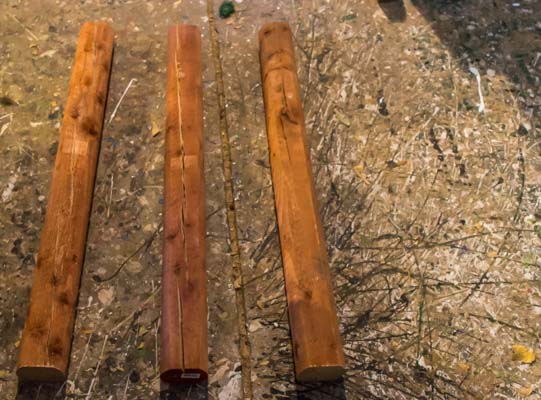
To create a set of rails, you will need 3 of the remnants of the timbers. Each section should be 3 ft long, so by using 3 of them, you will be creating a 9 ft filler for the base of your jump.
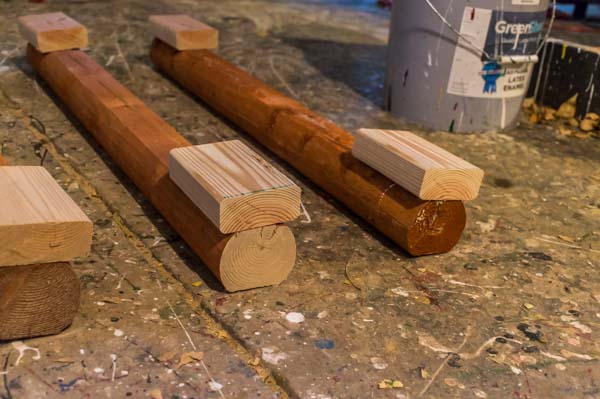
You will also need 6 pieces of 2 x 4, about 4 to 6 inches wide. You will attach the 2 x 4 sections to the bottom of the landscaping timbers. This will rails the rails up off the ground.

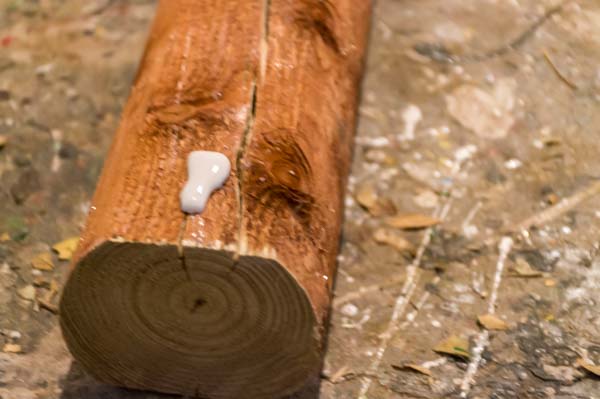
Set the landscaping timbers down, and grab some wood glue, and put a drop on each end of the timbers. Then you will put the 2 x 4 wood on top of the glue, and then using 3” decking screws, screw each 2 x 4 to the ends of the landscaping timber.
After you have done this 6 times, allow the feet to dry.
Drilling the Holes for Flowers
After the glue has dried (I usually wait overnight) then you can drill holes on the top of the timbers. This is where you will place the flowers. You can drill all the way through if you want, or just partly through. The deeper the hole, the better your flowers will stay in place.
You will need to determine how many holes you want to drill, and how far apart you want the holes to be. Keep in mind, the more holes you drill, the more flower bunches you will need. And if you just want to use the raised rails as filler, you don’t have to drill holes for flowers if you don’t want to.
Most of my raised rails are just the rails. It gets really windy where I live and I really don’t like chasing flowers around, so I use the raised rails mainly as fillers for my jumps as well as using the raised rails as trot poles, but again this is up to you, and what you will be doing with your raised rails.
Sanding the Wood
Once you have drilled (or not drilled) the holes, and the glue has dried, now it is time to sand the wood. Be sure to get any stray splinters from all sides. Not only does it look great, but is also keeps you safe by not getting splinters!
I feel it is important to sand even the bottom, because it just looks better.
Once you have the sanding done, if there are any splits or cracks in the wood it is also a good idea to fill these open spaces with caulk. It will help to keep your raised rails sealed, and of course, it will look better and more professional.
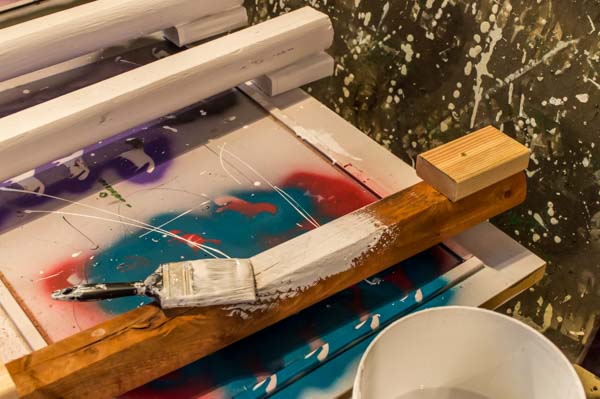
Painting and Priming
Just like every other piece of equipment we have built so far, you will want to cover the wood surface with a coat of primer paint. The Kilz 2 is my favorite primer, and I have sometimes not had a finish paint color, so I just do 3 or 4 coats of the Kilz. It has a bright white finish, and it holds up very well to the repetitive knocking that can happen when the rails are on the ground.
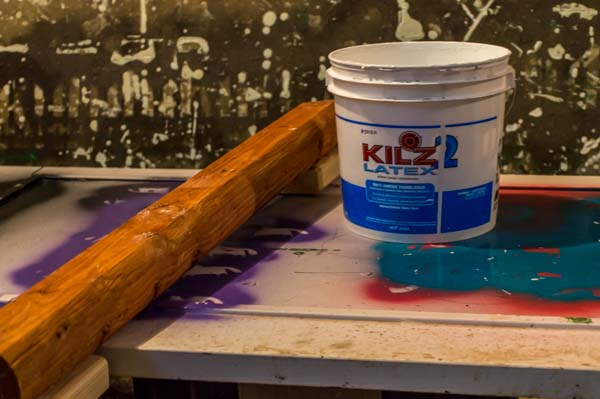
Make sure to allow drying time in between the coats of pain. This is another reason I like to use the Kilz 2, the coat of paint will be dry in an hour, and ready to recoat.
It doesn’t have a glossy finish, but it does look nice. And I have not had a problem with the paint getting dinged up like I have with the high gloss paints. Just something for you to consider when you are deciding on your paint color choices.

If you do decide to use the high gloss paint, make sure to allow the paint to completely dry before you use the raised rails. It takes at least 12 hours drying time, and 24 hours is even better. If you use them before the paint is completely dry, you will find dirt will adhere to your pretty new raised rails. So try and be patient, and allow them to dry completely before setting them up for use in your arena!
Just About Done!
You have now completed every piece in this set of jumps!
Days 6 and 7 are still to come, but once you have gotten this far, you have created an entire set of jumps, regardless if they are 100% finished or not. You should be extremely proud of yourself for taking on this task!
Not only have you made jumps, but by doing so, you have saved yourself at least $1500.00 by doing this! If anything, that should be motivation enough to get your jumps done, wouldn’t you agree?
Day 6 will be a wrap up, and then on Day 7 I am going to give you some ideas of how you can put your jumps to use!
1 Response to "Day 5 of Building Your Own Set of Horse Jumps: Creating Raised Rails"
this was a very helpful artical and i love that i will only need scrap wood to make easy fillers for my jumps. And they are not to big and scary so my horse should jump them no problem