
How To DIY Jump Fill
Well I had planned on getting my riding arena groomed and beautiful this weekend. Unfortunately, mother nature had other ideas. I am so over winter and I can’t wait until spring officially arrives.

And while it dumped snow at our house last night, making working in my arena impossible today, it did give me the opportunity to start thinking about my horse jumps. And while I have a pretty good inventory of jumps, I still need more fillers. You can never have too much horse jump fill.
The fillers for horse jumps are the different piece that you use to make a jump different, or more challenging for your horse. And yes, you can buy jump fillers but you can also diy different projects that will give you versatility to your jumps.
And making your own is possible, and affordable! So I thought I would share with you some of the jump fill I have, and some that I am going to be making. Probably today since I won’t be working in my arena this weekend.
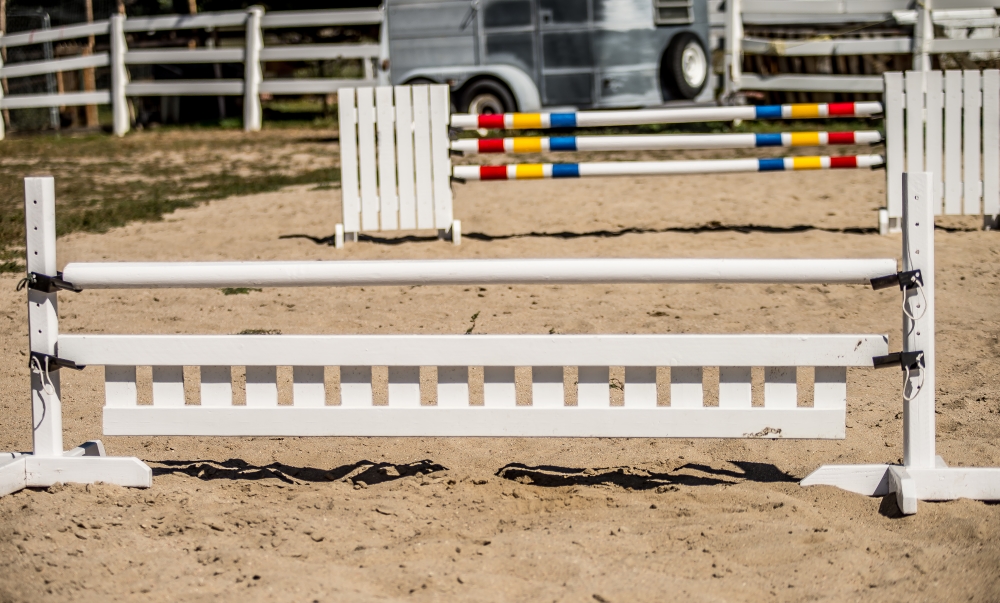
Ground Poles
Ground poles are fantastic to make yourself. They are affordable, and easy to make. You just need to find the lumber that you can turn into a ground pole.
My favorite lumber for my ground poles, and jump rails are the cherry tone landscaping timbers from Home Depot. At the time of writing this post, they cost $3.98 each.
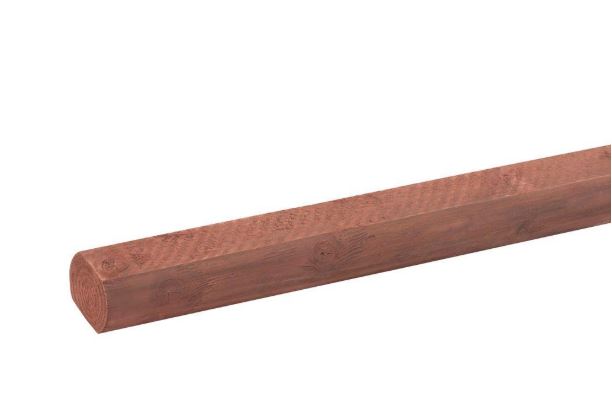
You can also find them at Lowe’s for $4.38 a piece. The landscaping timbers at Lowes are pressure treated, so they may last longer. But painting pressure treated lumber can be challenging. Which is why I stick with what I know, the Home Depot ones.
The landscaping timbers are 8 feet long. Oh how I wish they would make these 10 feet long. That would give me so many more options. But 8 feet long ground poles, or jump rails is good enough, and better if you have a small arena.

But to make the ground poles I bring the wood home, sand the imperfections, fill the cracks and then paint them.
If I am painting the poles a solid color, I can get a bunch done in a weekend.
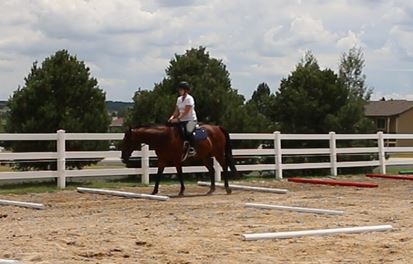
And once they are done, they are so helpful! You can use them for trot poles, or for laying out a simple course, cross rails, and of course for ground poles in front of your jumps. There are just so many uses for ground poles, and they are very affordable to make.

And if you are looking to get a deal on your landscaping timbers, wait until Memorial Day Weekend. Usually Home Depot will have them on sale for half price. And a couple of years ago, they had them for $.99 a piece! I always look forward to Memorial Day sales to see if they have this sale again. Because if they do, I stock up. And if you don’t have a truck, they will deliver too. Where I live, they will deliver for $50.00. So if I can buy landscaping timbers for $1.00, and buy 100 of them, the $50.00 delivery fee is worth it to me. So let’s all cross our fingers that they have a super sale this Memorial Day weekend!
DIY Raised Rails

When I first started building my own jumps, I had a lot of shorter pieces of wood left over from building 5 foot tall standards. And I hate to waste. So instead of throwing away the left over lumber, I made raised flower rails. These are very nice to have to add some fill to your jumps. And if you have the left over lumber, you can make them for very little cost.
All of my flower rails have been made with left over material I already had from building other things.

The raised rails are nice to use as fill for jumps, or like a ground rail. And if you have these, and not a lot of other jumping equipment, they can double for ground poles too.
If you want to see how easy it is to make your own raised rails/flower rails, check out this blog post.
DIY Flower Boxes

I love building flower boxes. They are so easy to build, and they add so much to a jump. And you can make them in any height you want. You can build flower boxes with 2 x 4’s , 2 x 6’s, or whatever you have.
To make a pair of flower boxes that will fit an 8 foot wide jump, you simply need 3 pieces of lumber that is 8 feet long. Then you cut the lumber in half (or 4 foot sections). And if you have 10 foot jumps you need to fill, you can use 10 foot long lumber too if you want the jump to be really full and solid looking.

And after they are assembled, just find some flowers to fill up the boxes. I prefer to go to Walmart after a holiday and find the flower bunches when they are on 90% clearance. That way I can get a lot of flowers to really fill the boxes. Sometimes I have put 2 bunches of flowers in each hole to really make the boxes look full.

I love that look, and when the holes are packed full, it is harder for my horses to pull out the flowers if I get lazy, and turn them out into the arena with the jumps.
And of course, I have a blog post walking you through building the boxes step by step which you can find here.
DIY Liverpool
I built one of these 2 years ago….wow, was that really 2 years ago??!?!? Anyway, it was sooooo easy to do. Way easier than I thought it would be. And as I go through my older articles, I cannot believe I didn’t write a blog post about this!
But while I didn’t write a blog post, I did make a video showing you how easy it is to make a liverpool (aka water hazard) for your jumps.
This liverpool was easy to make, but I think I want to try and do one a little bit differently. And I do have the materials to make another one, so I think I will work on that this weekend. That way I can show you how to make your own, in step by step format.
DIY Walls For Horse Jumps

Making walls for jumps is about the same as making the tall flower boxes, only taller. And walls add a lot to a jump. As you can see in the picture above, look at how solid this jump looks because of the wall beneath it. The wall fills a lot of space, make it easier to ‘fill’ the jump, and making it more appealing for your horse to jump.
And when you have your own walls at home to work with, your horse won’t be surprised when you get to the show grounds and your course has a wall or two included.
And not only did I make a video showing you how to build a wall (this is a tall one!) I also wrote a blog post walking you through the process. And you can find that by clicking here.
DIY Horse Jump Gates
Making gates for horse jumps is probably one of my favorite fillers to make. Gates are so easy to make, and add so much to a jump. And while they are very common in the hunter ring, lately I have been seeing gates also incorporated in the jumper ring too. Maybe its because I am paying attention to the jumps, or maybe it’s because the horse shows are getting more creative.

But whatever the reason, I love building gates.
You can have tall gates…

Or you can have solid gates…

Really you are only limited buy your imagination. But if you are looking for new ideas for your jumps, and want an affordable filler, that is easy to make, make some gates.

If you are looking for ideas on building gates, I have several blog posts showing you how I do it. This post will give you lots of ideas.
DIY Planks For Horse Jumps

Now making planks is simple, if you have a jig saw. That is pretty much the only tool you need to make planks. And just like every other piece you can make, you can make these any height you like.
The picture here shows 2 x 6’s that I cut out to look like wavy planks. This was my first attempt at making them. So now I have a better idea of how to do it, so next time they will be even better.
I am also going to make some thinner planks, like 2 x 4 thin. Talk about affordable! A 2″ x 4″ x 8′ piece of lumber costs $2.37 at Home Depot. Then I just cut a notch out so it can set into the jump cup, and bam! I have a plank!
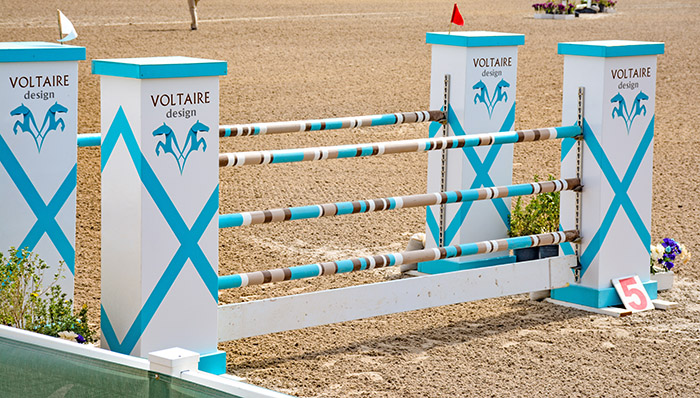
I think I want to make several 2 x 4 planks, and then paint them like the Voltaire jumps I have seen at the shows. The colors are so fun! I love the colors, and I think in a plank, it would look awesome. Now that will make for an epic post, don’t you think? Stay tuned and subscribe so you can see when I make it.
DIY Cut-Outs For Jump Fillers

Now this is a project I want to work on. I have not made any, yet. However, this is a project that has been in my head for sometime now. So you know what that means right? Yes, I am going to make some!

They don’t look very difficult to make, so I think I will be able to do a set or two in a weekend. Depending on how intricate I decide to get. But regardless, I am going to make some of these.
You Can Make Fillers For Horse Jumps!
I hope this inspires you to make some of your own fillers for your jumps. If you use your imagination, and put in the work, you can have a nice course of jumps that you can change up whenever you like.

Don’t spend your hard earned money on over priced jump fillers when you can make them yourself for a lot less. And if you are really motivated, you could even make some to sell. That’s what I plan on doing. And that’s what I do every year, in order to afford the more expensive purchases I make. When there is something I want to buy, but I don’t have expendable income, I build some jumps to sell. Its a great way to make a little bit of extra money.

And making my own fill for my jumps means my horse is never surprised at what he may encounter. So if you weather is crappy right now, like it is here, why not make the most of that time, and build some filler for your own jumps?